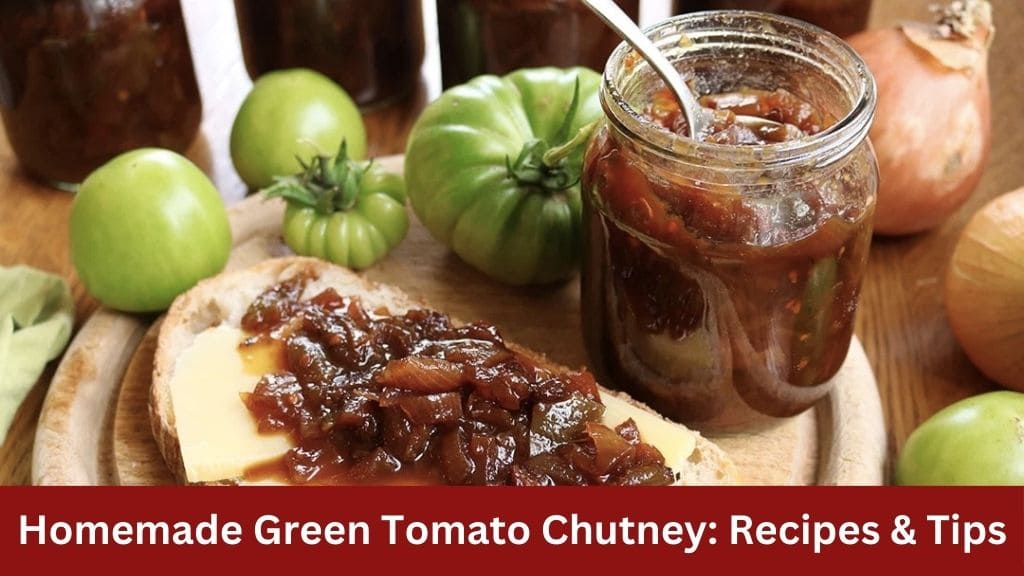
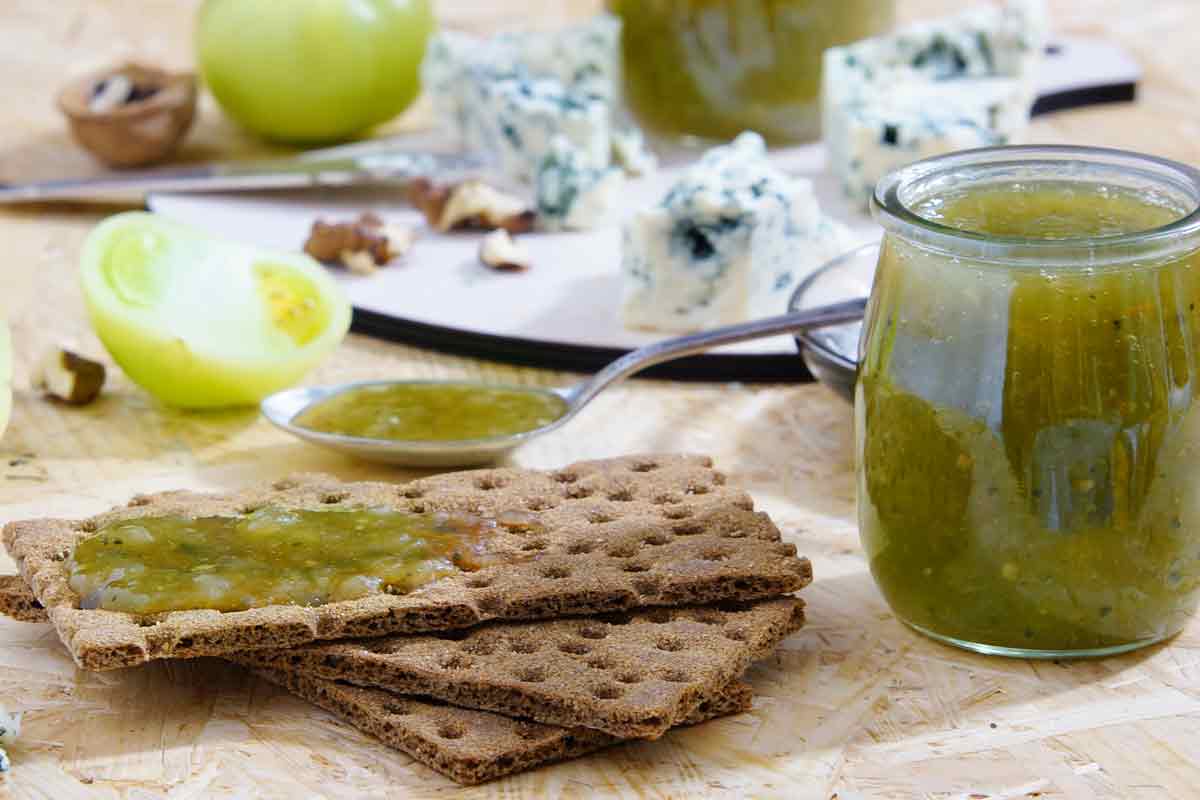
Green tomato chutney is a delightful condiment that adds a burst of flavor to any dish. Whether you’re serving it with cheese, bread, or as a marinade, its sweet, sour, and tangy taste is sure to tantalize your taste buds. In this comprehensive guide, we’ll explore everything you need to know about making green tomato chutney, from selecting the best ingredients to mastering the cooking process.
Green tomato chutney is a type of relish made from unripe green tomatoes, combined with onions, vinegar, sugar, and spices. It is a popular preserve, especially in regions where green tomatoes are abundant, and is cherished for its versatility and intense flavor profile.
Ingredients

Main Ingredients:
- Green Tomatoes: Approximately 1 kg (2.2 lbs) or about 6 cups. Choose firm, unripe green tomatoes for the best results.
- Red Onions: Also around 1 kg (2.2 lbs) or about 6 cups, roughly chopped.
- Raisins: 150 grams (5.2 oz) or about 1 cup. You can use either ordinary raisins or golden raisins for a slightly different flavor.
- Garlic: 3 cloves, minced.
- Spices: Include cayenne pepper, black pepper, and sea salt to taste.
Flavor Enhancers:
- Brown Sugar: 500 grams (2.5 cups). Opt for either dark or light brown sugar based on your preference.
- Malt Vinegar: 1 liter (32 fl oz) or about 4.25 cups. Choose vinegar with a 5% acetic acid concentration for the best results.
Cooking Instructions
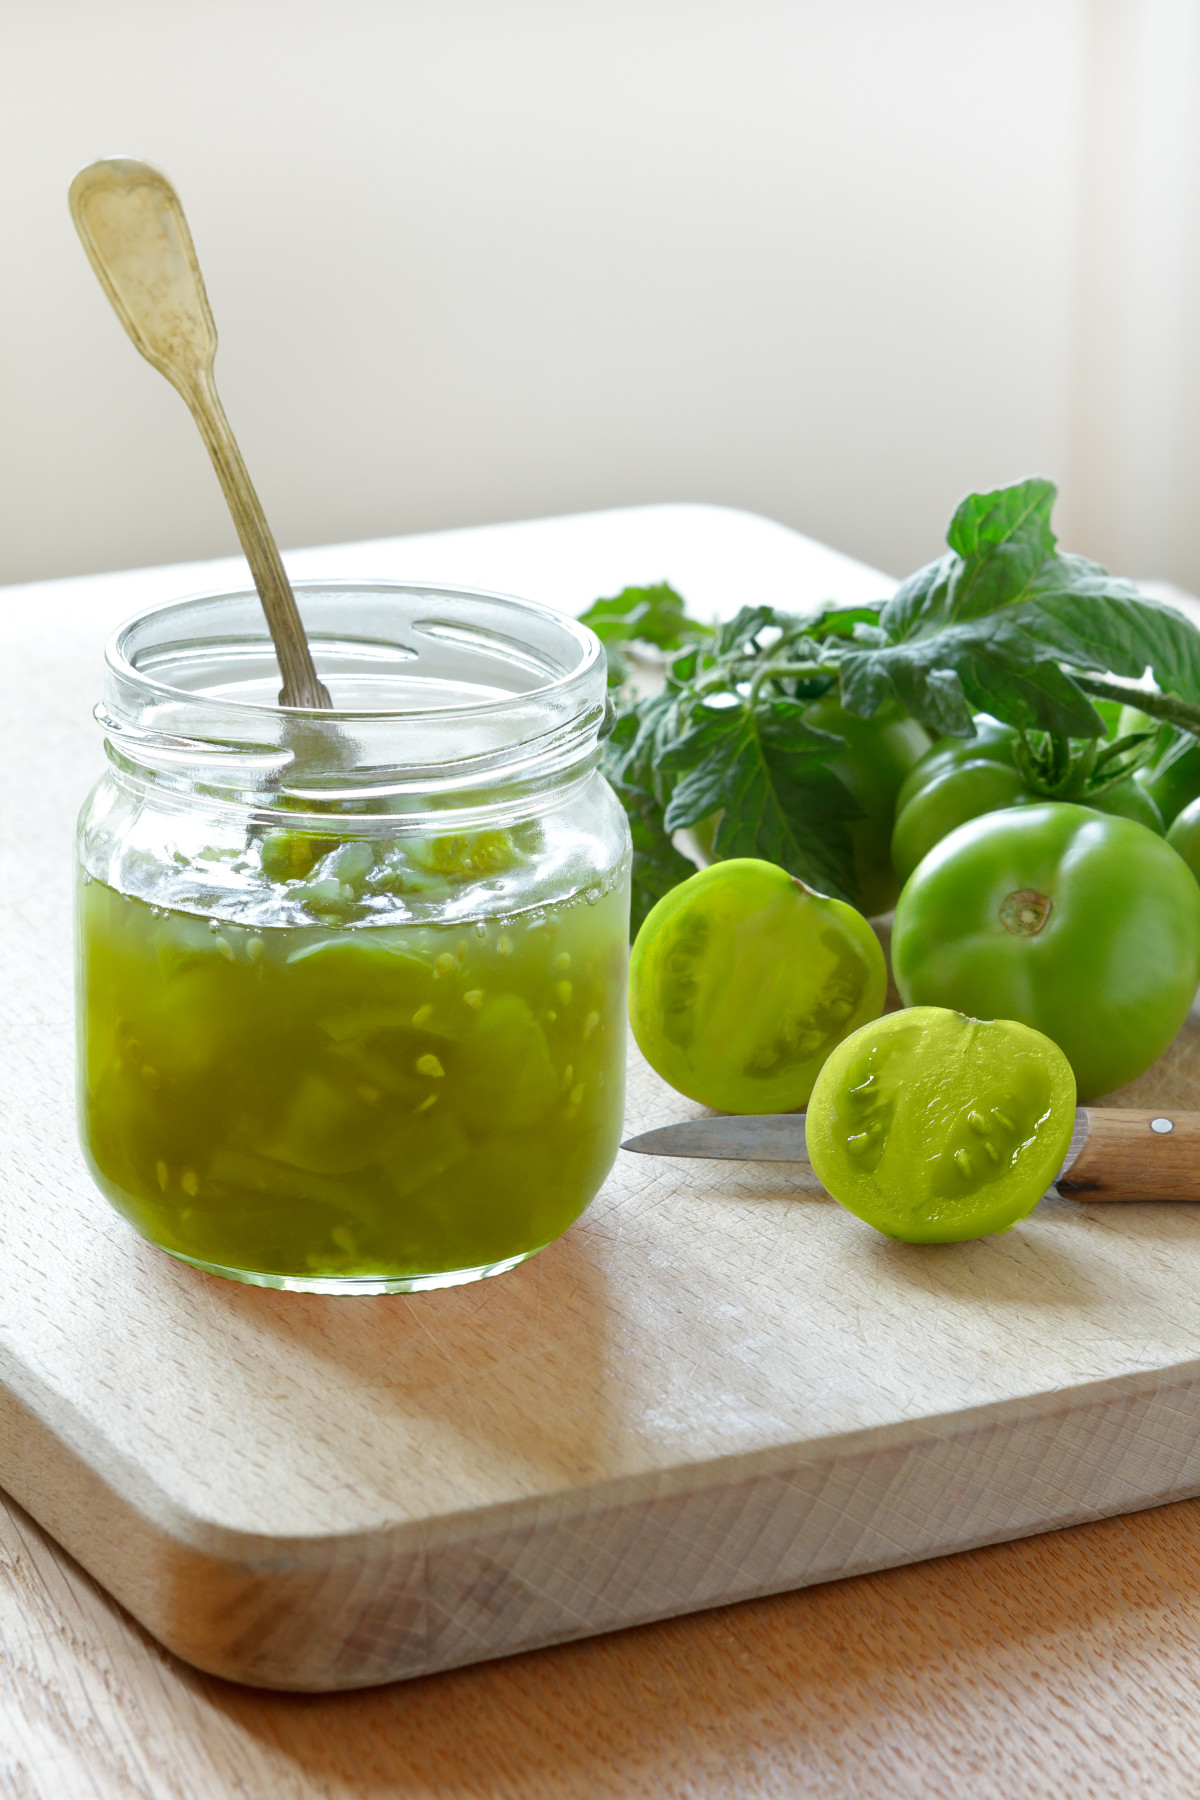
- Prepare the Vegetables: Start by washing the green tomatoes thoroughly under cold running water to remove any dirt or debris. Then, using a sharp knife, carefully chop the green tomatoes into small chunks. Similarly, peel the red onions and chop them roughly into pieces of similar size to the tomatoes. Next, measure out the raisins and mince the garlic cloves finely. Having all the vegetables and ingredients prepared and ready to go will make the cooking process much smoother.
- Combine Ingredients: Once all the vegetables and ingredients are prepped, it’s time to combine them in a stainless steel pan. Place the chopped green tomatoes, red onions, raisins, minced garlic, and all the spices into the pan. Ensure that the pan is large enough to accommodate all the ingredients comfortably without overflowing during the cooking process.
Cooking Process:
- Bring to a Boil: Set the pan over medium heat and allow the mixture to come to a gentle boil. This initial boiling process helps to activate the flavors of the ingredients and kick-starts the cooking process. Keep an eye on the pan to prevent it from boiling over, and adjust the heat as needed to maintain a steady simmer.
- Simmer: Once the mixture has reached a boil, reduce the heat to maintain a vigorous simmer. It’s essential to simmer the chutney uncovered to allow excess moisture to evaporate and the flavors to concentrate. Stir the mixture occasionally to ensure that it cooks evenly and doesn’t stick to the bottom of the pan.
- Cook Down: The cooking time can vary depending on factors such as the batch size and the intensity of the heat. Generally, it can take anywhere from one to three hours for the chutney to cook down to the desired consistency. During this time, the mixture will gradually thicken and darken in color as the flavors meld together. Be patient and continue to stir the chutney regularly to prevent it from burning.
- Check Consistency: To determine if the chutney is ready, visually assess its consistency. It should have reduced down significantly and become thick and syrupy in texture. Additionally, you can perform a spoon test by dipping a spoon into the chutney and running your finger through it. If the line holds and the chutney doesn’t flow back together immediately, it’s likely done.
Jarring and Sealing:
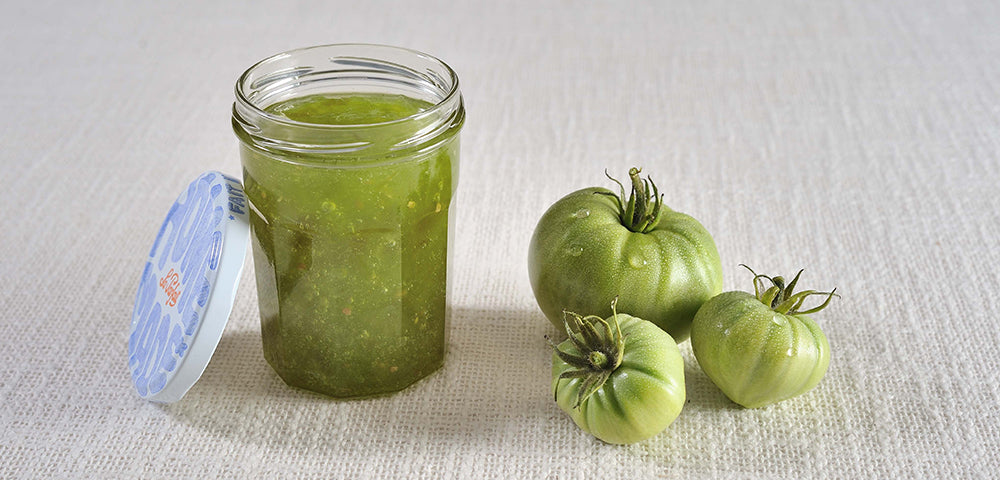
- Fill Jars: Once the chutney has reached the desired consistency, remove the pan from the heat. Using a ladle or spoon, carefully transfer the hot chutney into warm, sterilized jars. Leave a small amount of headspace at the top of each jar to allow for expansion during storage.
- Seal Jars: Immediately seal the filled jars with non-metallic lids to prevent any vinegar corrosion. Ensure that the lids are tightly secured to create an airtight seal. If reusing jars from store-bought products, check that the lids are in good condition and free from any dents or rust.
- Water Bath (Optional): For added preservation and sterilization, you can choose to water-bath the filled jars. Fill a tall pan with boiling water and carefully lower the sealed jars into the water using a jar lifter. Ensure that the jars are fully submerged and that there is at least an inch of water covering the lids. Boil the jars for ten minutes before carefully removing them from the water bath.
- Cool and Store: Once removed from the water bath, allow the jars to cool completely on a heat-resistant surface. As the chutney cools, you may hear a satisfying “pop” sound, indicating that the lids have properly sealed. Once cooled, label the jars with the date and contents before storing them in a cool, dark cupboard. Properly sealed and stored jars of green tomato chutney can last for up to a year.
Tips for Success
- Ingredient Quality: The quality of your ingredients plays a significant role in the flavor and texture of your green tomato chutney. Opt for fresh, ripe green tomatoes and red onions for the best results. Additionally, choose high-quality raisins and garlic cloves to enhance the overall flavor profile of the chutney.
- Consistency: Achieving the perfect consistency is key to a successful batch of green tomato chutney. Stir the mixture regularly during the cooking process to prevent it from sticking to the bottom of the pan and burning. Be patient as the chutney cooks down, allowing it to thicken and develop its rich, syrupy texture over time.
- Storage: Proper storage is essential for preserving the freshness and flavor of your homemade chutney. Once the jars are filled and sealed, store them in a cool, dark cupboard away from direct sunlight. Properly sealed jars of green tomato chutney can last for up to a year, but be sure to consume them within a reasonable timeframe once opened. Store any opened jars in the refrigerator and use them within a few weeks for optimal taste and quality.
- Customization: Don’t be afraid to get creative and customize your green tomato chutney to suit your taste preferences. Experiment with additional spices, such as cumin seeds, mustard seeds, ginger, or curry leaves, to add depth and complexity to the flavor profile. You can also adjust the sweetness and acidity by varying the amount of sugar and vinegar used in the recipe. Have fun experimenting with different flavor combinations until you find your perfect blend.
- Presentation: The presentation of your green tomato chutney can elevate the dining experience and make it even more enticing. Consider serving the chutney in decorative jars or containers, garnished with fresh herbs or spices for added visual appeal. Label each jar with the date of preparation and the contents for easy identification. A beautifully presented jar of homemade chutney also makes for a thoughtful gift for friends and family.
Conclusion
Green tomato chutney is a delicious and versatile condiment that adds a unique twist to any meal. With its blend of sweet, sour, and tangy flavors, it’s sure to become a staple in your kitchen. By following this guide, you’ll be well-equipped to create your own batch of homemade green tomato chutney that will impress family and friends alike. So gather your ingredients, fire up the stove, and get ready to savor the mouthwatering taste of homemade chutney!