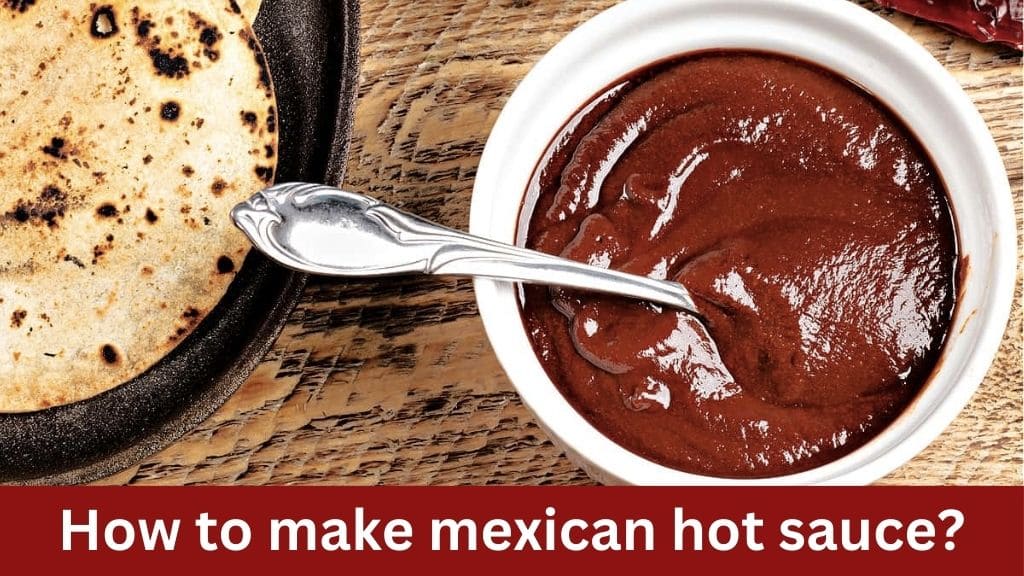
Mexican hot sauce, known for its bold flavors and fiery kick, is a staple condiment in Mexican cuisine. While there are many variations of Mexican hot sauce, ranging from mild to extra spicy, the basic ingredients remain consistent across recipes. In this comprehensive guide, we’ll explore the step-by-step process of making authentic Mexican hot sauce right in your own kitchen.

Mexican hot sauce is a flavorful blend of chili peppers, vinegar, spices, and sometimes fruits or vegetables. It adds depth and heat to a wide range of dishes, from tacos and enchiladas to eggs and soups. Unlike some commercial hot sauces, which may contain artificial flavors and preservatives, homemade Mexican hot sauce offers a fresh and authentic taste that complements traditional Mexican fare perfectly.
Ingredients

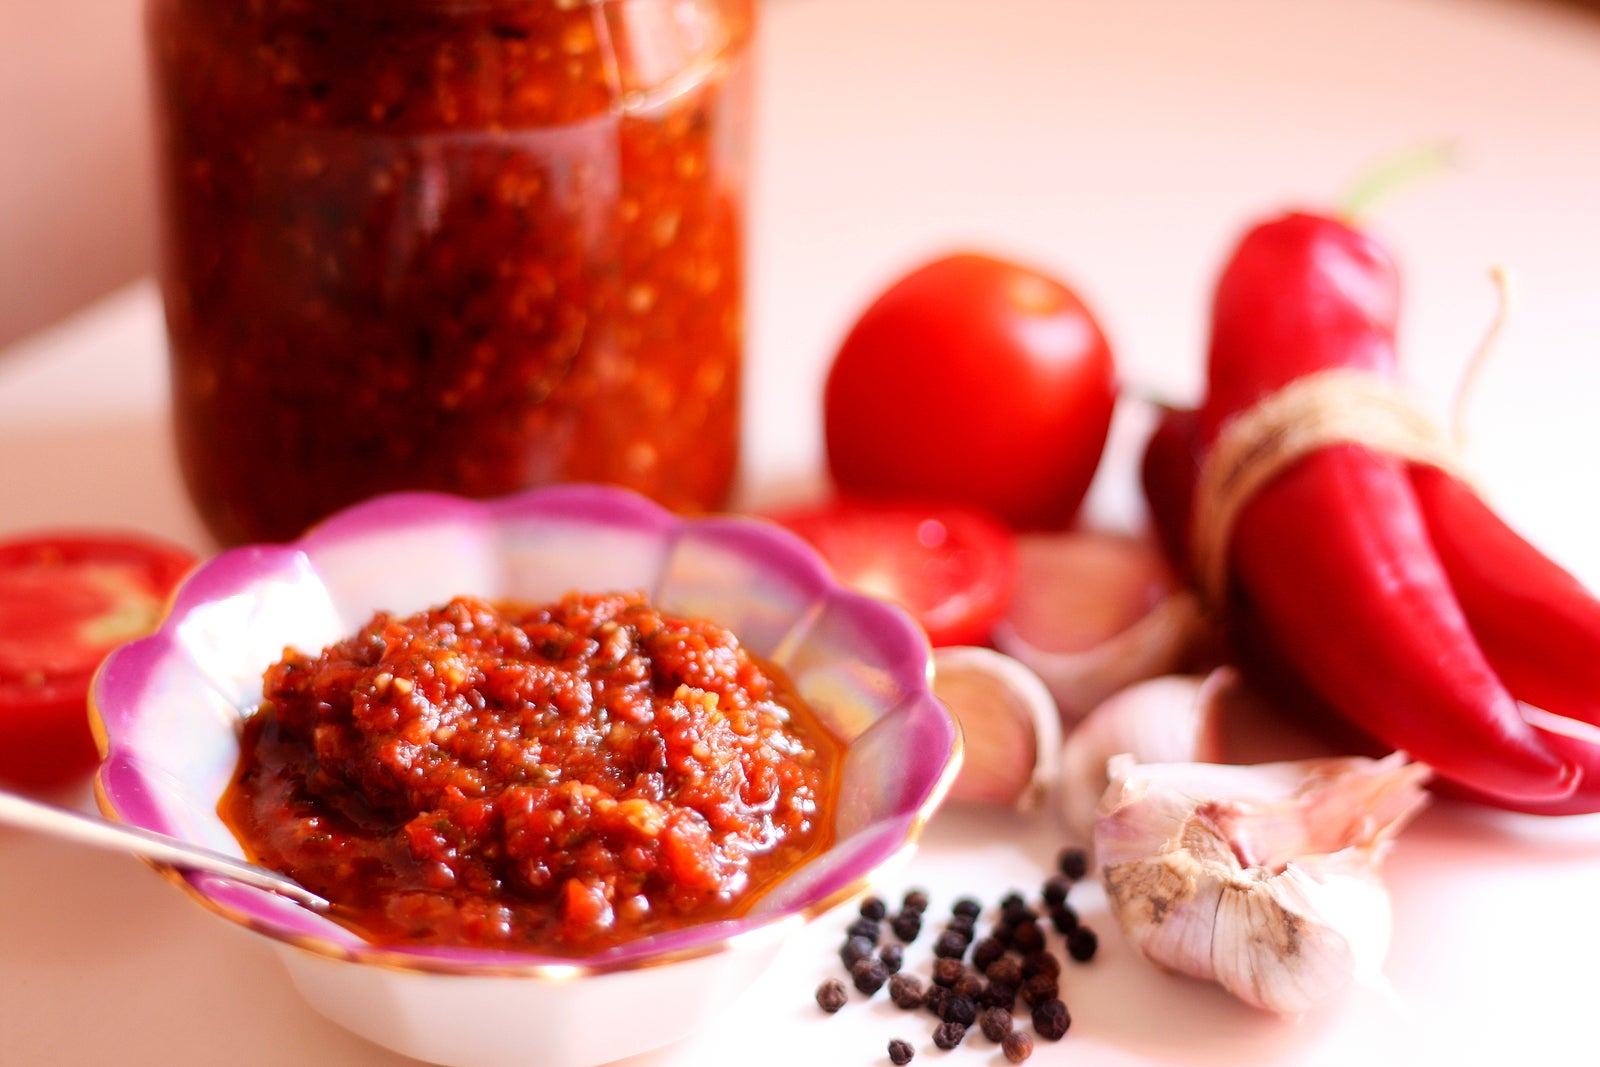
To make Mexican hot sauce, you’ll need the following ingredients:
- Chili Peppers: Choose your preferred variety of chili peppers, such as jalapeños, serranos, or habaneros, depending on your desired level of heat.
- Vinegar: White vinegar or apple cider vinegar is commonly used to add acidity and tanginess to the sauce.
- Onion and Garlic: These aromatic vegetables enhance the flavor profile of the sauce.
- Tomatoes (Optional): Fresh or canned tomatoes can be added to provide sweetness and body to the sauce.
- Spices: Common spices include salt, black pepper, cumin, and Mexican oregano.
- Citrus Juice (Optional): Lime or lemon juice adds brightness and freshness to the sauce.
Step-by-Step Instructions
Step 1: Selecting and Preparing the Chili Peppers
When selecting chili peppers for your hot sauce, consider the following factors:
- Variety: There are numerous varieties of chili peppers available, each with its own unique flavor profile and heat level. Common varieties used in Mexican hot sauce include jalapeños, serranos, habaneros, and guajillos. Choose a variety based on your preferred level of heat and flavor.
- Freshness: Opt for fresh chili peppers that are firm, glossy, and free from blemishes or soft spots. Fresh peppers will provide the best flavor and heat.
- Color: The color of chili peppers can vary depending on their ripeness and variety. For example, jalapeños start out green and gradually turn red as they ripen. Choose peppers that are vibrant and evenly colored for optimal flavor.
Preparing the Chili Peppers:
-
- Wash the Peppers: Rinse the chili peppers under cold running water to remove any dirt or debris. Pat them dry with a clean kitchen towel.
- Removing the Stems: Use a sharp knife to cut off the stems of the chili peppers. Discard the stems, as they are tough and not suitable for use in the sauce.
- Removing Seeds and Membranes: Slice the chili peppers in half lengthwise using a sharp knife. Use a small spoon or knife to scrape out the seeds and membranes from the interior of the peppers. The seeds and membranes contain much of the pepper’s heat, so removing them can help control the sauce’s spiciness.
- Handling Precautions: Exercise caution when handling hot peppers, as their oils can cause irritation to the skin and mucous membranes. Wear gloves to protect your hands from irritation, and avoid touching your face or eyes while handling the peppers.
Step 2: Roasting or Charbroiling the Peppers (Optional)
Methods of Roasting or Charbroiling
- Open Flame: Place the chili peppers directly over an open flame on a gas stove, grill, or barbecue. Use tongs to turn the peppers occasionally until their skins are charred and blistered on all sides. This method provides a quick and intense heat, resulting in a deeply charred flavor.
- Broiler: Preheat your oven’s broiler and arrange the chili peppers on a baking sheet lined with aluminum foil. Place the baking sheet under the broiler, leaving the oven door slightly ajar to allow steam to escape. Broil the peppers until their skins are charred and blistered, turning them occasionally to ensure even charring.
- Oven Roasting: Preheat your oven to a high temperature, typically around 400-450°F (200-230°C). Arrange the chili peppers on a baking sheet lined with aluminum foil and roast them in the oven until their skins are charred and blistered, turning them occasionally for even roasting.
Tips for Roasting or Charbroiling
-
- Uniform Charring: Rotate the peppers frequently while roasting or charbroiling to ensure that all sides are evenly charred and blistered.
- Ventilation: Ensure proper ventilation while roasting or charbroiling peppers, as the process can produce smoke and fumes.
- Cooling and Peeling: After roasting or charbroiling the peppers, transfer them to a bowl and cover them with a clean kitchen towel or plastic wrap. Allow the peppers to steam for 10-15 minutes to loosen their skins. Once cooled, use your fingers or a knife to peel off the charred skins, revealing the tender flesh underneath.
Step 3: Blending the Ingredients
Combine Ingredients: Place the prepared chili peppers, chopped onion, garlic cloves, tomatoes (if using), vinegar, spices, and citrus juice (if desired) into the blender or food processor.
Adjust Consistency: Depending on your preference, you can add more or less vinegar or citrus juice to achieve the desired consistency of the sauce. Some prefer a thicker sauce, while others prefer it more liquid. Start with a smaller amount of liquid and gradually add more until you reach the desired consistency.
Blend Until Smooth: Secure the lid of the blender or food processor tightly, and blend the ingredients on high speed until smooth and homogeneous. Blend for several minutes, pausing occasionally to scrape down the sides of the blender or food processor with a rubber spatula, if necessary.
Taste and Adjust: Once the sauce is blended, taste it and adjust the seasoning and heat level to your liking. You can add more salt, spices, or citrus juice if necessary to balance the flavors. If the sauce is too thick, you can thin it out with additional vinegar or water.
Step 4: Straining (Optional)

Equipment Needed
- Fine-Mesh Sieve or Cheesecloth: A fine-mesh sieve or cheesecloth is essential for straining the sauce and removing any solid particles. Choose a sieve with a fine mesh that can capture small particles while allowing the sauce to pass through smoothly.
- Rubber Spatula: A rubber spatula comes in handy for pressing the sauce through the sieve and extracting as much liquid as possible.
- Large Bowl or Container: Place the sieve over a large bowl or container to catch the strained sauce and prevent any spills or mess.
Steps for Straining
- Prepare the Straining Equipment: Place a fine-mesh sieve over a large bowl or container. If using cheesecloth, line the sieve with a double layer of cheesecloth, ensuring there are no gaps or holes.
- Pour the Sauce: Carefully pour the blended hot sauce into the sieve or lined cheesecloth, allowing it to flow through slowly.
- Press and Stir: Use a rubber spatula to press the sauce through the sieve or cheesecloth, working in a circular motion to extract as much liquid as possible. Stir the sauce occasionally to facilitate the straining process.
- Discard Solids: Once the majority of the liquid has passed through the sieve or cheesecloth, discard any remaining solids, such as chili pepper skins, seeds, or pulp. You can compost these solids or discard them in the trash.
- Transfer the Sauce: Transfer the strained hot sauce to a clean bottle or jar with a tight-fitting lid. Store the sauce in the refrigerator until ready to use.
Tips for Straining
-
- Be Patient: Straining the hot sauce can be a slow and gradual process, especially if you’re using a fine-mesh sieve or cheesecloth. Take your time and allow the sauce to pass through naturally.
- Press Gently: Avoid pressing too forcefully on the solids, as this can cause the sauce to become cloudy or gritty. Use gentle pressure to extract the liquid without disrupting the texture of the sauce.
- Strain in Batches: If you’re making a large batch of hot sauce, consider straining it in smaller batches to prevent overcrowding the sieve or cheesecloth.
Step 5: Adjusting Seasoning and Heat Level
Taste Testing: Begin by tasting a small amount of the hot sauce and evaluating its flavor profile. Take note of any areas where the sauce may be lacking in seasoning or heat.
Adding More Spice: If you prefer a spicier sauce, consider adding additional chili peppers or a hotter variety of peppers to increase the heat level. You can also include spicy spices such as cayenne pepper or chili powder to amp up the spice factor.
Balancing Acidity: Adjust the acidity of the sauce by adding more vinegar or citrus juice if necessary. Acidic ingredients help brighten the flavors of the sauce and balance out the richness of the chili peppers.
Adjusting Saltiness: If the sauce lacks saltiness, add a small amount of salt to enhance the overall flavor. Be mindful not to over-salt the sauce, as it can mask the other flavors.
Experimenting with Spices: Experiment with different spices and herbs to add complexity and depth to the sauce. Common spices used in Mexican hot sauce include cumin, coriander, Mexican oregano, and garlic powder. Add these spices gradually, tasting as you go, until you achieve the desired flavor profile.
Step 6: Storing the Hot Sauce
Sterilizing Containers: Wash and sterilize glass bottles or jars with tight-fitting lids before transferring the hot sauce into them. Sterilization helps eliminate any harmful bacteria or contaminants that could compromise the sauce’s safety and shelf life.
Cooling the Sauce: Allow the hot sauce to cool completely to room temperature before transferring it to the sterilized containers. Hot liquids can create condensation inside the containers, leading to moisture buildup and potential spoilage.
Bottling the Sauce: Carefully transfer the cooled hot sauce into the sterilized bottles or jars, leaving a small gap at the top to allow for expansion. Seal the containers tightly with their lids to create an airtight seal that prevents air and moisture from entering.
Refrigeration: Store the bottled hot sauce in the refrigerator to prolong its shelf life and maintain its freshness. Cold temperatures help slow down bacterial growth and preserve the sauce’s flavor and quality. Keep the sauce in the refrigerator door or on a shelf where it’s easily accessible for use.
Avoiding Contamination: Handle the hot sauce with clean hands and utensils to prevent contamination. Avoid dipping dirty or used utensils into the sauce, as this can introduce bacteria and spoilage organisms.
Conclusion
Making Mexican hot sauce at home is a rewarding and straightforward process that allows you to customize the flavor and heat level to your preferences. With fresh ingredients and a few simple steps, you can create a delicious condiment that enhances the taste of your favorite Mexican dishes. Experiment with different chili peppers and spices to create your signature hot sauce recipe that will impress family and friends alike. Enjoy the fiery goodness of homemade Mexican hot sauce!