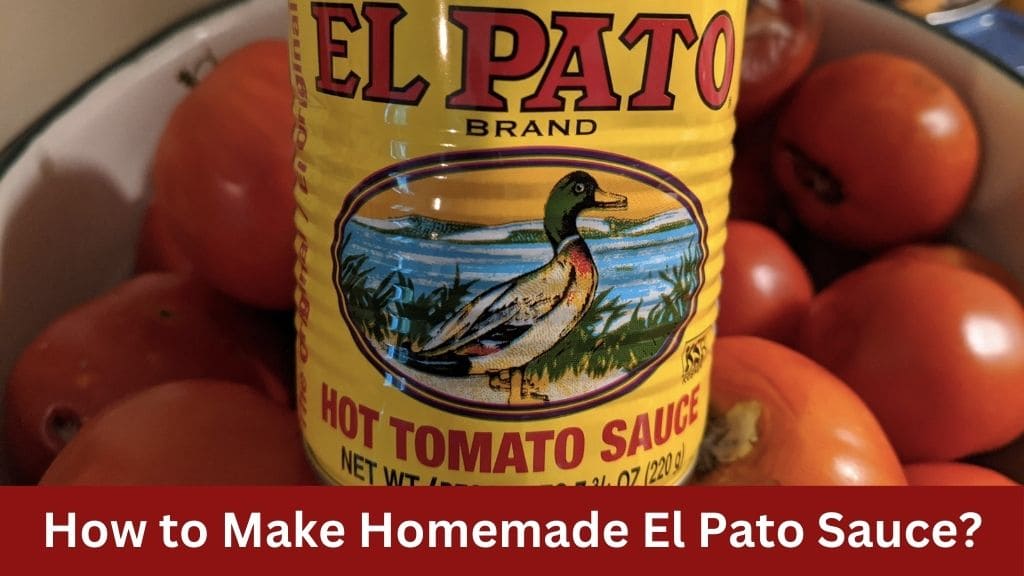
In the realm of Mexican cuisine, few condiments hold as much flavor and versatility as El Pato sauce. This vibrant tomato sauce, with its rich blend of spices and peppers, adds a burst of authentic taste to a variety of dishes. While store-bought versions are readily available, there’s something truly special about crafting your own homemade El Pato sauce. In this comprehensive guide, we’ll walk you through the step-by-step process of creating this beloved Mexican-style tomato sauce right in your own kitchen.
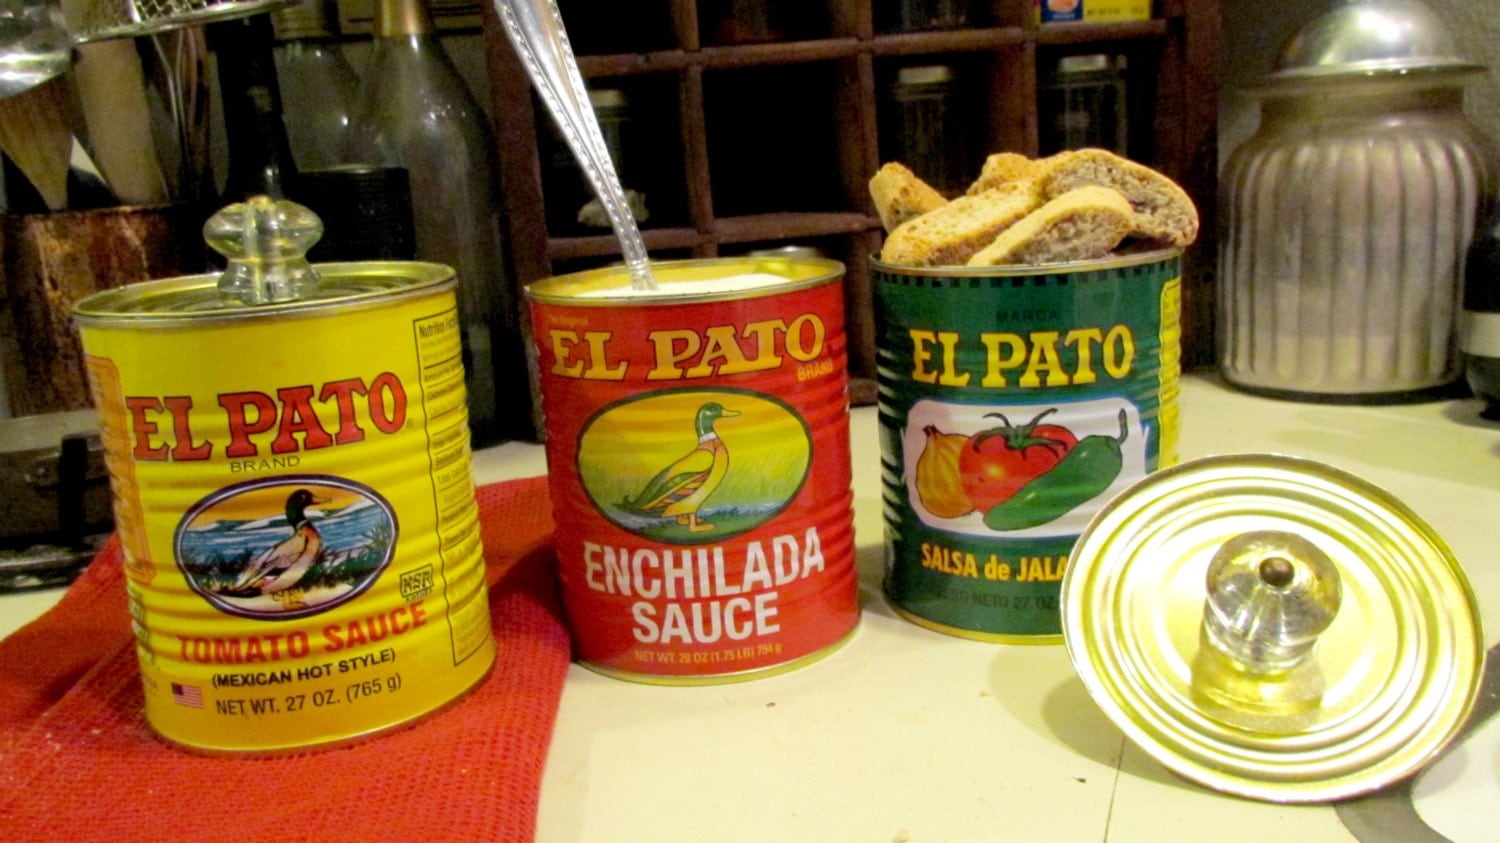
Before we dive into the recipe, let’s take a moment to understand what sets El Pato sauce apart. Originating from Mexico, El Pato sauce is known for its bold flavors and fiery kick. The name “El Pato” translates to “the duck” in English, a nod to the iconic duck logo that adorns its packaging. Traditionally, this sauce features a blend of tomatoes, spices, and peppers, resulting in a zesty and tangy flavor profile that complements a wide range of dishes.
Ingredients
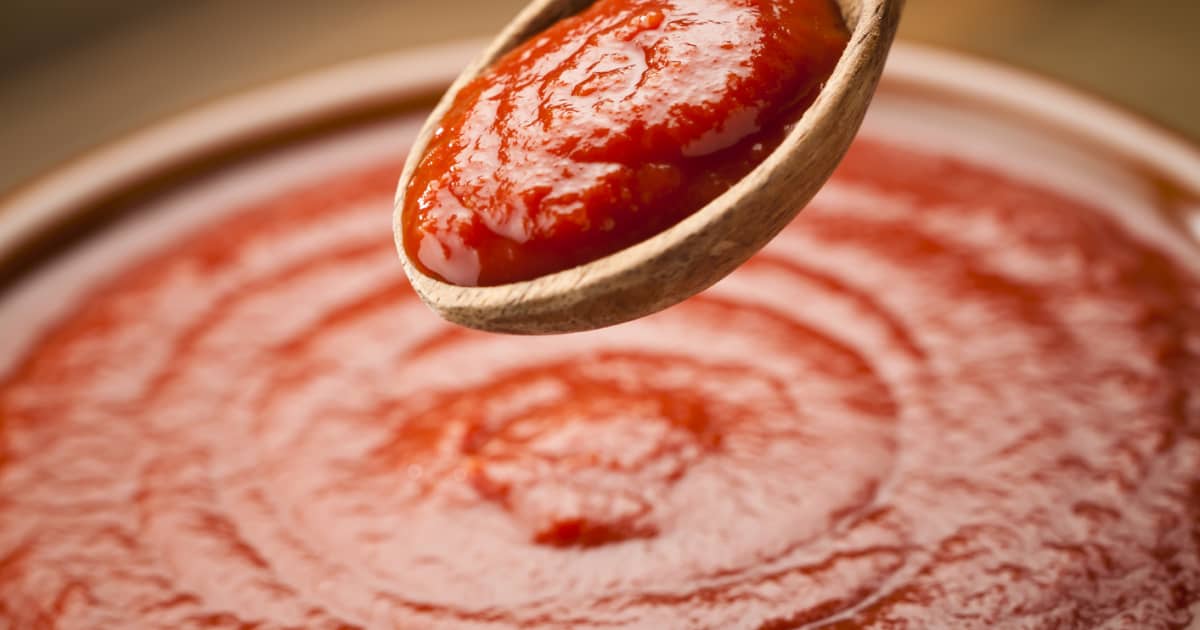
![10 El Pato Sauce Substitutes [In Meat Braising & More]](https://www.smarterhomemaker.com/wp-content/uploads/2022/01/Depositphotos_18385631_S.jpg)
For the Tomato Mixture:
- 4-5 cups of cherry or grape tomatoes
- 2 sprigs of fresh oregano (or 1 heaping tablespoon of fresh, 1 teaspoon dried)
- 1/2 teaspoon cumin
- 1/2 teaspoon paprika
- 1/2 teaspoon salt
- 1/4 teaspoon cinnamon
- 1/4 teaspoon black pepper
Additional Ingredients:
- 1/4 cup white wine (or substitute with apple cider vinegar or white vinegar)
- 2 teaspoons bacon fat
- 1 tablespoon olive oil
- 1/2 cup finely diced onion
- 2 small jalapeños, finely diced
- 1 teaspoon minced garlic
Instructions
Preparing the Tomato Mixture:
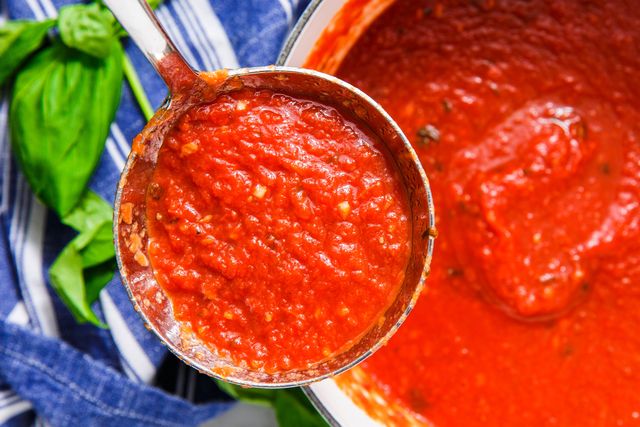
- Combine Ingredients: Start by gathering your cherry or grape tomatoes and fresh oregano. In a saucepan, combine these with cumin, paprika, salt, cinnamon, and black pepper. This mixture forms the base of your El Pato sauce, providing the foundation for its bold flavors.
- Cooking Process: Place the saucepan over medium-low heat and allow the mixture to gently bubble. The goal here is to cook the tomatoes until they break down and release their juices, creating a thick and flavorful sauce. This process typically takes about an hour, during which you’ll occasionally stir the mixture and use the back of a spoon to burst any whole tomatoes. If the sauce becomes too thick or starts to stick to the bottom of the pan, you can add a splash of water to maintain a smooth consistency.
Sautéing the Onion and Jalapeños:
- Preparation: While the tomato mixture is simmering, it’s time to prepare your aromatics. Finely dice half a cup of onion and two small jalapeños. These ingredients will add depth and heat to your El Pato sauce.
- Sautéing Process: In a separate frying pan, heat two teaspoons of bacon fat and one tablespoon of olive oil over very low heat. Once the fats are heated, add the diced onion and jalapeños to the pan. Sauté them gently until the onions begin to brown and caramelize, releasing their sweet and savory flavors. This slow cooking process allows the aromatics to develop rich, complex flavors without burning.
- Adding Garlic: After the onions have softened and started to brown, add a teaspoon of minced garlic to the pan. Garlic can burn easily, so it’s important to add it towards the end of the sautéing process. Cook the garlic for an additional 5 minutes, allowing it to mellow and infuse its aroma into the onion and jalapeño mixture.
Combining and Finishing the Sauce:
- Incorporating the Aromatics: Once the tomato mixture has cooked down and thickened to your desired consistency, add the sautéed onion, jalapeño, and garlic mixture to the saucepan. Stir everything together to ensure that the flavors are evenly distributed throughout the sauce.
- Adding White Wine: To brighten and enhance the flavors of the El Pato sauce, pour in a quarter cup of white wine. Alternatively, you can use apple cider vinegar or white vinegar as substitutes. The acidity from the wine or vinegar helps balance the richness of the sauce and adds a subtle tanginess.
- Final Simmering: Bring the sauce back to a gentle boil, then reduce the heat to low and let it simmer for an additional 5 minutes. This final cooking step allows the flavors to meld together and intensify, resulting in a sauce that’s bursting with depth and complexity.
- Optional Processing: If you prefer a smoother texture, you can transfer the sauce to a food processor and pulse it until it reaches your desired consistency. This step is entirely optional and depends on personal preference.
- Cooling and Freezing: Once the sauce is cooked to perfection, allow it to cool before pouring it into ice cube trays. Freezing the sauce in individual cubes makes it easy to portion out and use as needed. Once frozen, transfer the sauce cubes to an airtight container or freezer bag for long-term storage.
Tips and Variations
Experiment with Pepper Varieties:
Adjust Heat Level: The heat level of your El Pato sauce can be tailored to your taste preferences by experimenting with different types of peppers. If you prefer a milder sauce, you can reduce the amount of jalapeños or substitute them with a milder pepper variety. Conversely, if you enjoy a spicier kick, consider incorporating hotter peppers such as serranos or habaneros.
Enhance Flavor Profile:
Smoky Flavor: For a smokier flavor profile, you can add a touch of chipotle powder or smoked paprika to the sauce. These ingredients impart a subtle smokiness that complements the richness of the tomatoes and spices, adding depth and complexity to the finished sauce.
Customization with Herbs and Spices:
Herb Infusion: Elevate the flavor of your El Pato sauce by incorporating additional herbs and spices. Fresh cilantro or Mexican oregano can lend a vibrant herbal aroma, while ground coriander or cayenne pepper can add layers of complexity. Feel free to experiment with different combinations until you find the perfect balance of flavors that suits your taste preferences.
Storage and Accessibility:
Portion Control: Freezing the sauce in ice cube trays allows for convenient portion control, making it easy to thaw and use as needed. Whether you’re preparing a quick weeknight meal or adding a finishing touch to a special dish, having individual sauce cubes on hand ensures that you always have access to the vibrant flavors of homemade El Pato sauce.
Culinary Creativity:
Versatile Ingredient: Don’t limit yourself to traditional Mexican dishes when using El Pato sauce. Get creative and explore its versatility by incorporating it into a variety of recipes. Whether you’re using it as a marinade for grilled meats, a topping for pizza, or a dip for crispy tortilla chips, the possibilities are endless. Let your culinary imagination run wild and experiment with different ways to incorporate this flavorful sauce into your cooking repertoire.
Long-Term Storage:
Airtight Containers: To maintain the freshness and flavor of your homemade El Pato sauce, store the frozen sauce cubes in an airtight container or freezer bag. Proper storage ensures that the sauce remains delicious and ready to use whenever inspiration strikes. With a well-stocked freezer full of homemade sauce cubes, you’ll always be prepared to add a burst of authentic Mexican flavor to your favorite dishes.
Conclusion
Mastering the art of homemade El Pato sauce opens up a world of culinary possibilities. Whether drizzled over tacos, enchiladas, or scrambled eggs, this flavorful sauce is sure to elevate any dish with its authentic Mexican flair. With just a handful of ingredients and a bit of patience, you can create a batch of homemade El Pato sauce that rivals the flavors found in your favorite Mexican grocery aisle. So why wait? Roll up your sleeves, gather your ingredients, and embark on a culinary adventure that celebrates the vibrant tastes of Mexico. Buen provecho!